Making new changes in Sngine to change the look and feel of your website/network is very simple, We divided this tutorial to 2 parts.
Part 1: Change Colors (CSS changes only)
For minor edits like change colors you can start with admin panel -> design where you can change some colors and add your own CSS
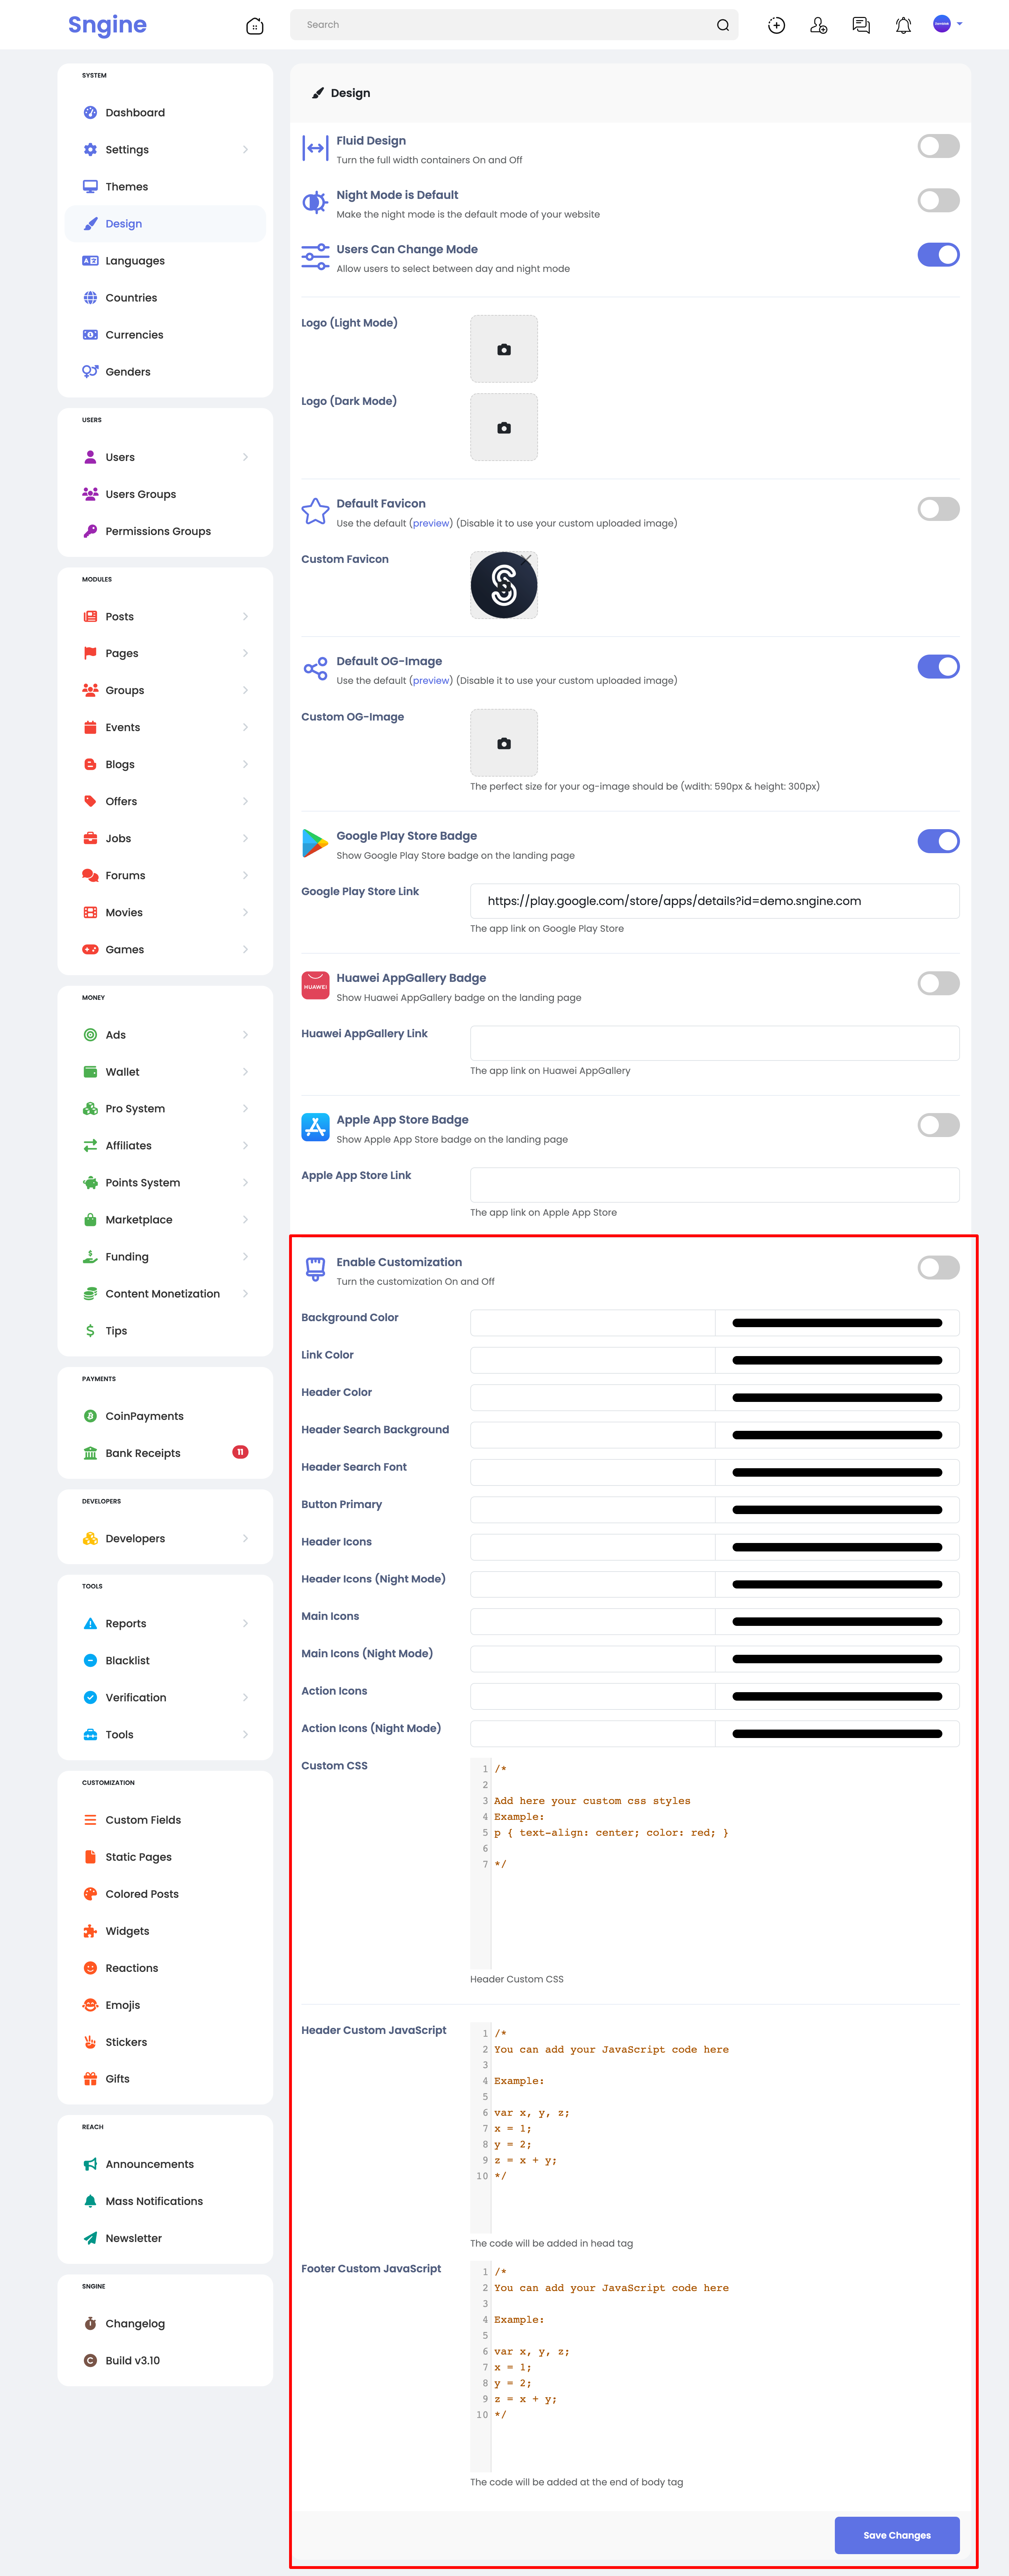
After any new updates or releases you will never lose these changes so it’s totally recommended for edit the default theme colors or CSS without the headache of migration your edits after each new release.
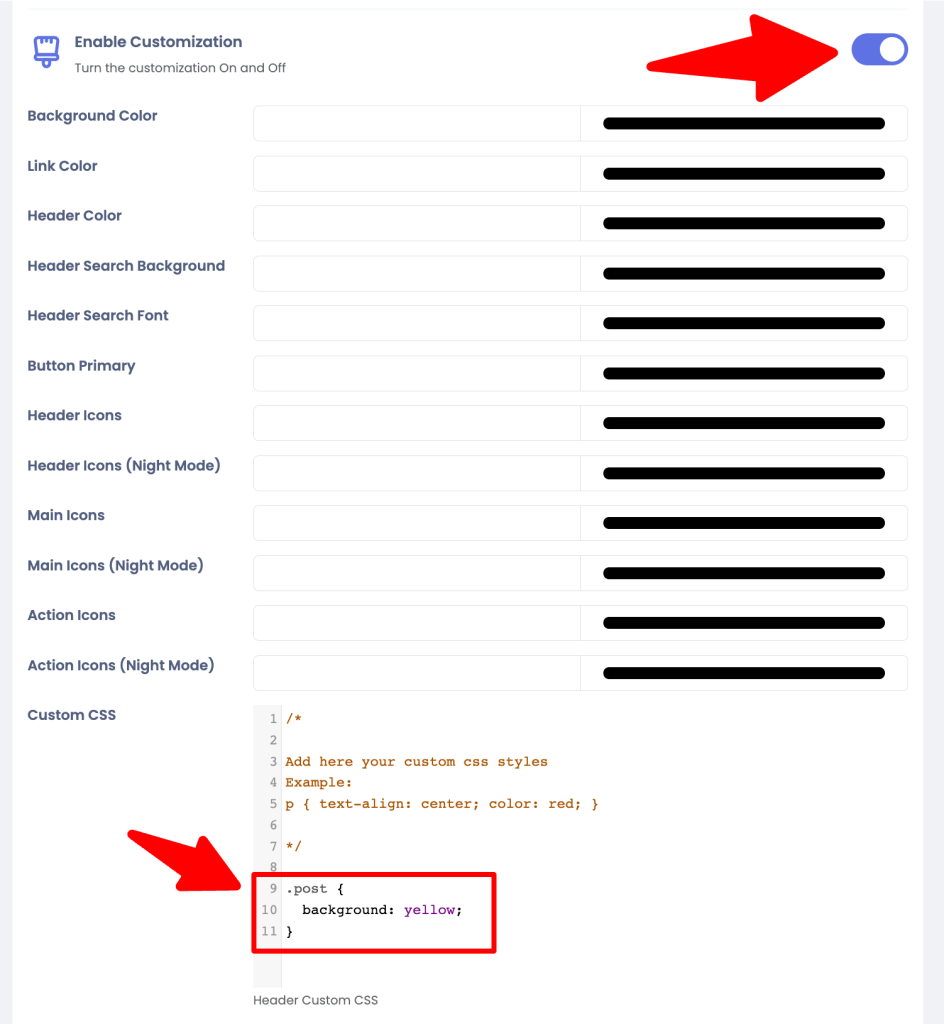
Now I want to edit some CSS but where I can find the class name?
The best way is using the browser dev tools like Chrome Dev tools and inspect element to know the class name
Check this to learn more about Chrome Dev Tools:
https://developer.chrome.com/devtools
For Example:
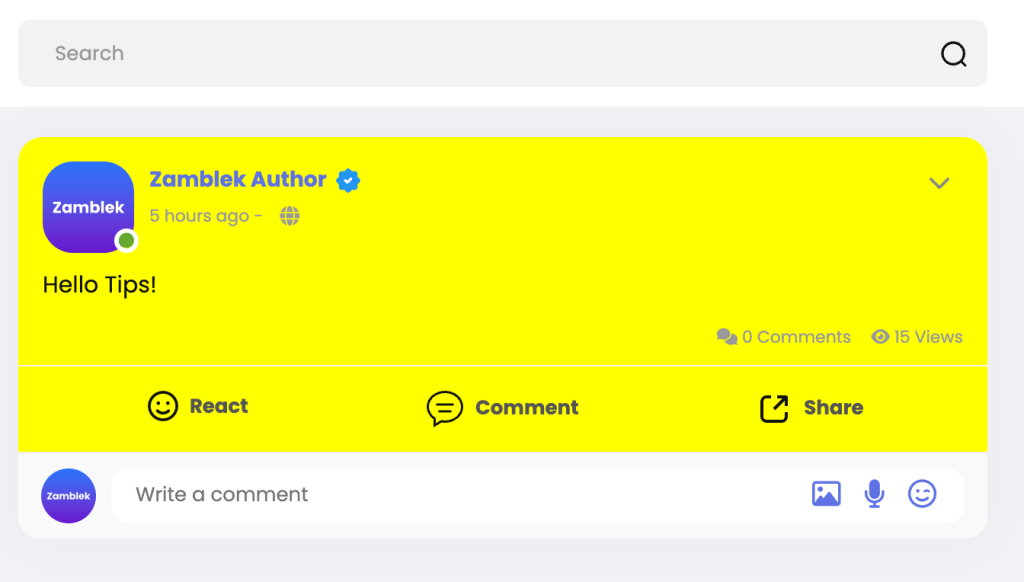
Change the post container background color from white to something else

After inspect element the class name is “.post“, But where I can edit the background? You can edit the style.css file located in the theme folder (Not Recommended) located here “content/themes/default/css“
But the best from the admin panel -> design add you own CSS to override the default CSS like this
Important Note:
Don’t forget to remove any browser cache and cookies after making your changes ( Check this to learn how: https://bit.ly/SngineClearCache )
Part 2: Change Structure (HTML changes)
Sngine using Smarty PHP template engine which is the best way to separate the HTML code (The view) from the PHP code (The Control)
Smarty is a template engine for PHP, facilitating the separation of presentation (HTML/CSS) from application logic. This implies that PHP code is application logic, and is separated from the presentation
You can learn more about it from here:
https://www.smarty.net/about_smarty
Now back to Sngine to create a new theme for Sngine you have 2 ways.
1- Edit the default theme
2- Add a new one (Recommended)
It’s better to clone the default theme and start from there, but How?
Go to “content/themes” and make a copy from the “default” folder and name it as you want (with no spaces of special characters) for example “my_theme” or “flat” or “material” … etc
Note: Don’t forget after make a copy for your theme to empty this folders “templates_compiled” to not copy the default theme cached files
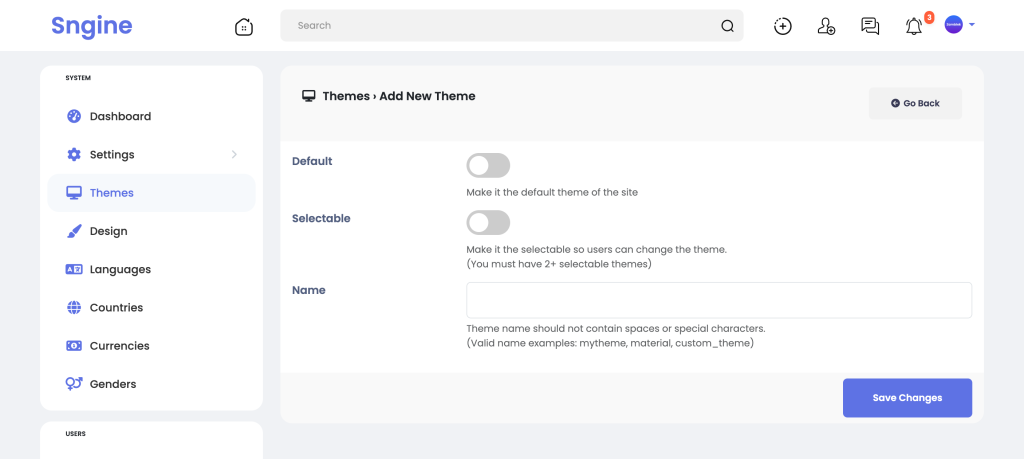
Now you will go to the admin panel and add a new theme and mark it as default theme and the name must be the same as you folder name for example “my_theme” or “flat” or “material” … etc
By doing this, with every new release or update you will just need to migrate your theme with the new changes in the default theme.
You can use something like this app for migration. https://www.araxis.com/merge/
Lets see the theme folder structure
- “css” – All theme styles or CSS files (YOU CAN EDIT)
- “images” – All theme images located here (YOU CAN EDIT)
- “templates” – All Sngine templates located here (YOU CAN EDIT)
- “templates_compiled” – For caching the templates for better performance (DON’T EDIT)
Templates ended with “.tpl” for example the home page template located here “templates/index.tpl” and contain the HTML code that you can edit with any editor as you want.
templates can contain other templates like “_header.tpl” & “_footer.tpl”
You can open the templates and start trace the code with yourself and it’s very easy to follow and understand and If you or your developer have any questions related to our code structure or Sngine database schema we will answer you with no problem.
For any help you can open support ticket here and our team will help you: https://www.zamblek.com/support
Also you can check this blog post to learn how to add new page:
That’s it.
Happy Sngine 🙂
Buy Sngine or Extend your support: https://bit.ly/BuySngine