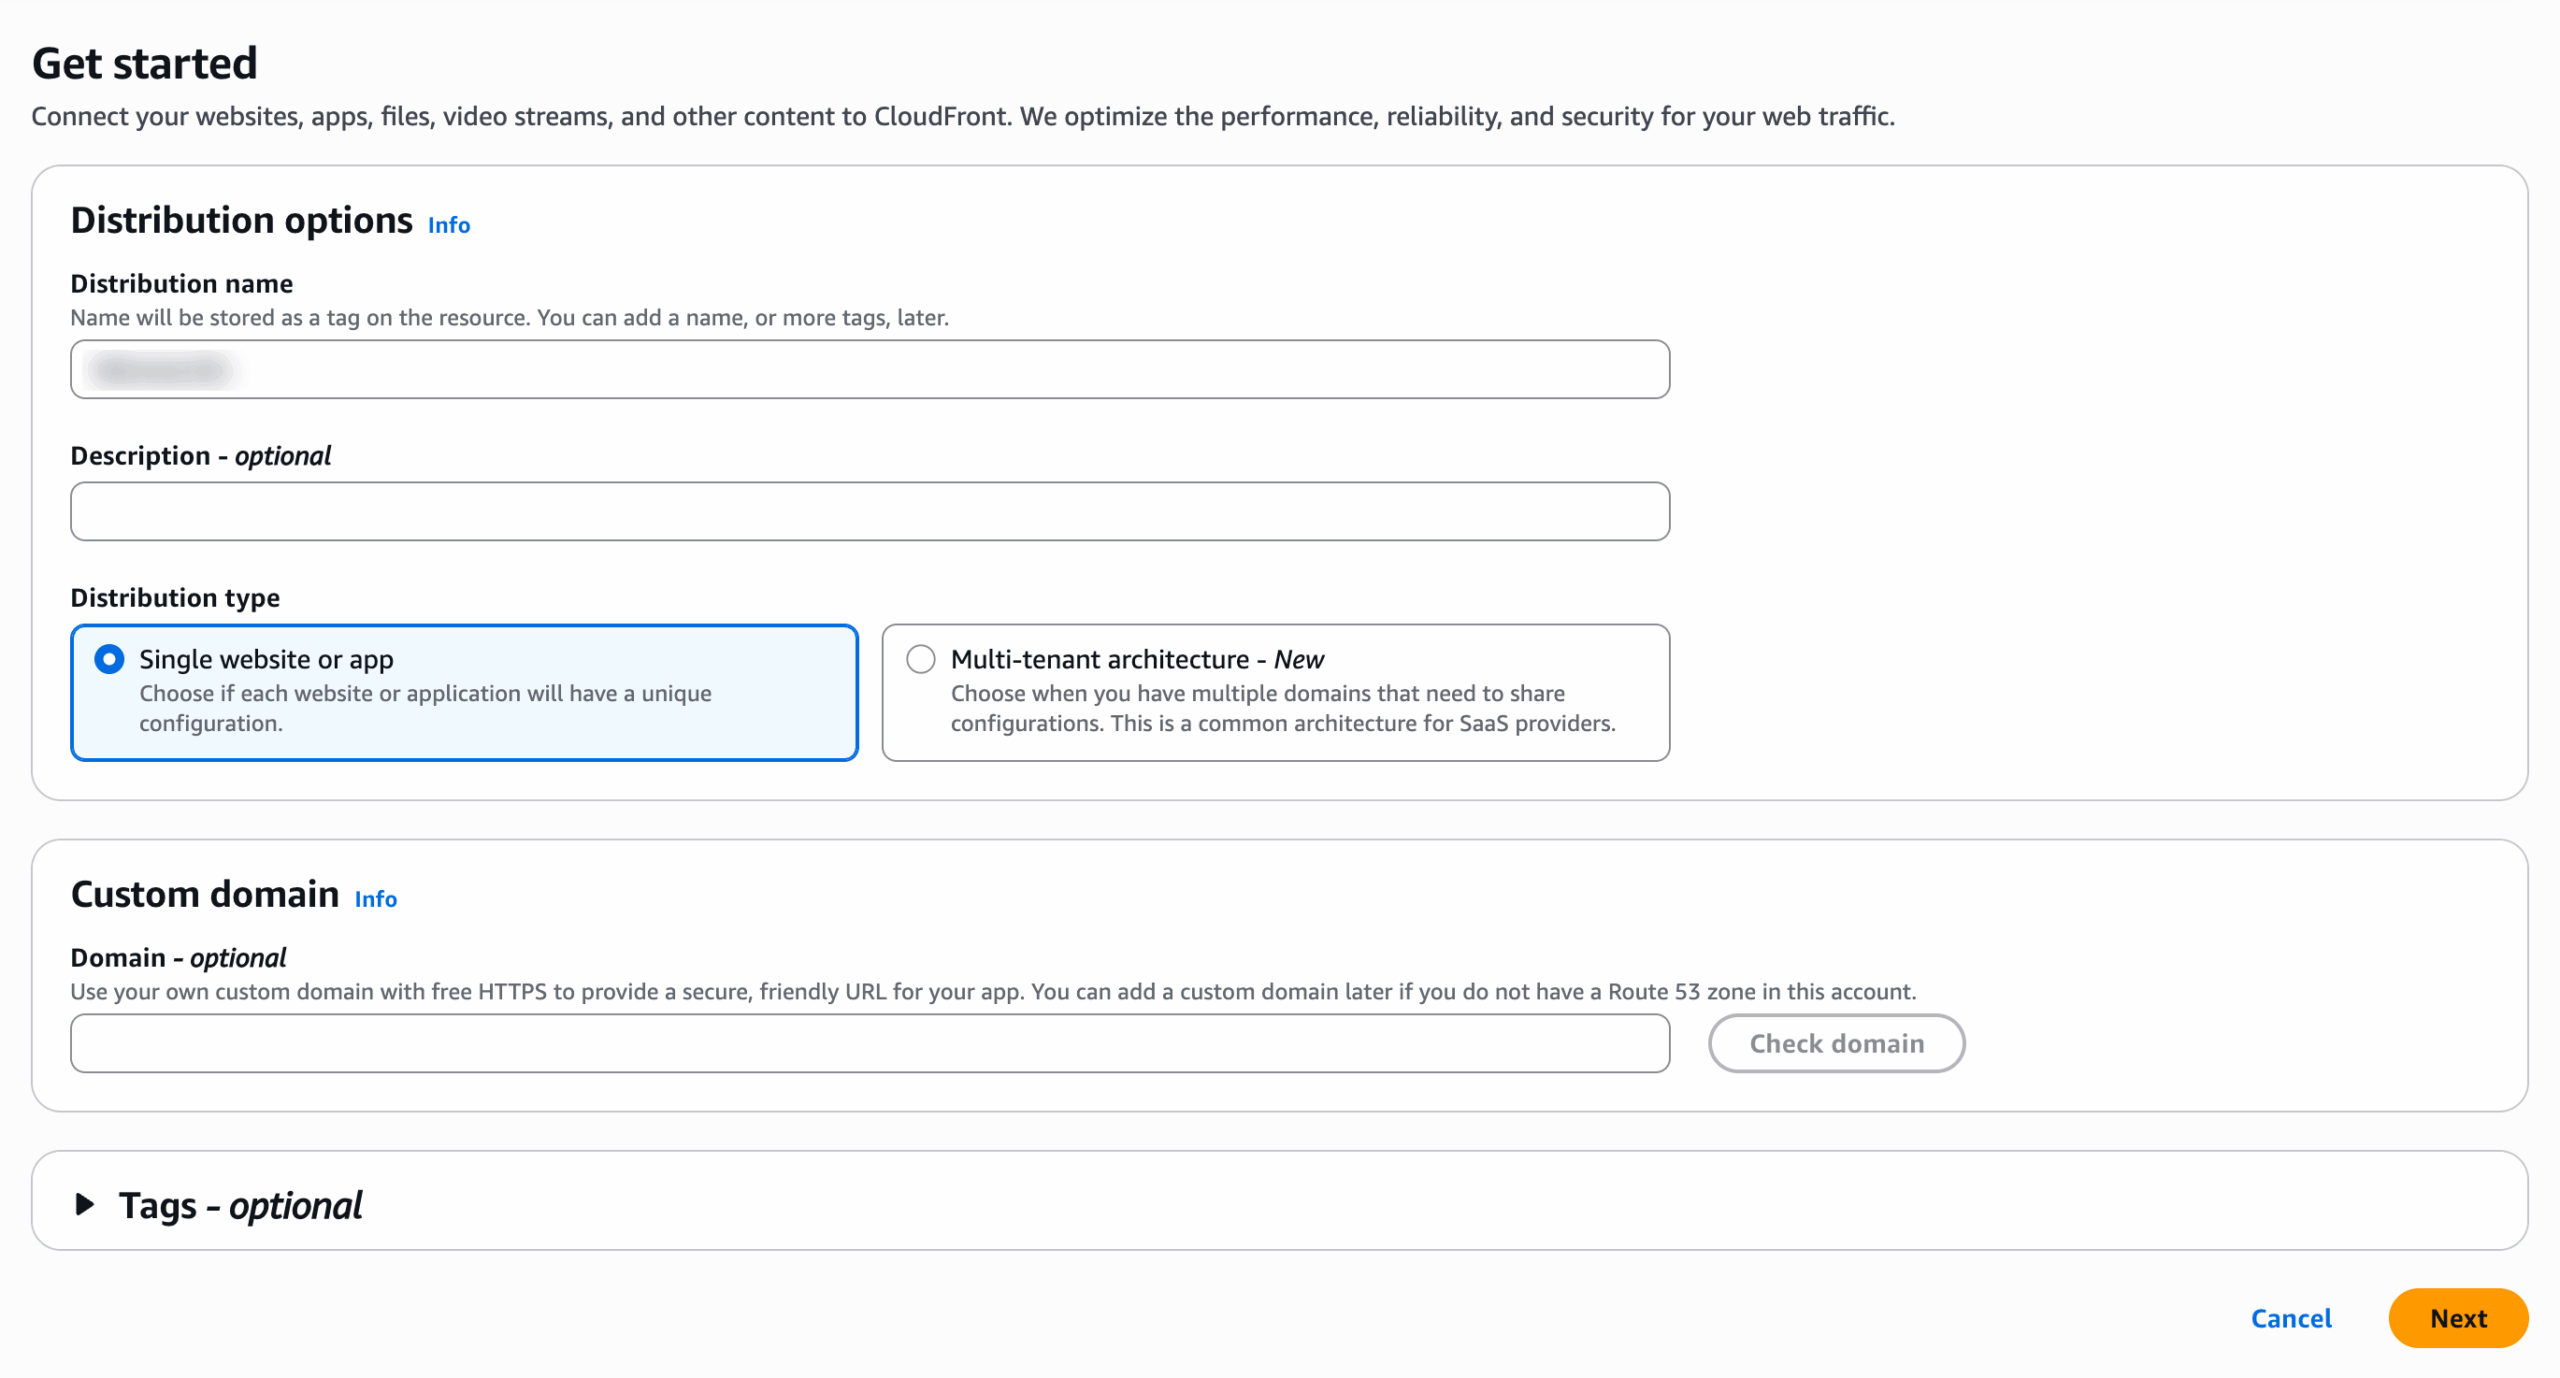
Simply Go to your AWS Console and select the CloudFront service and follow the following steps
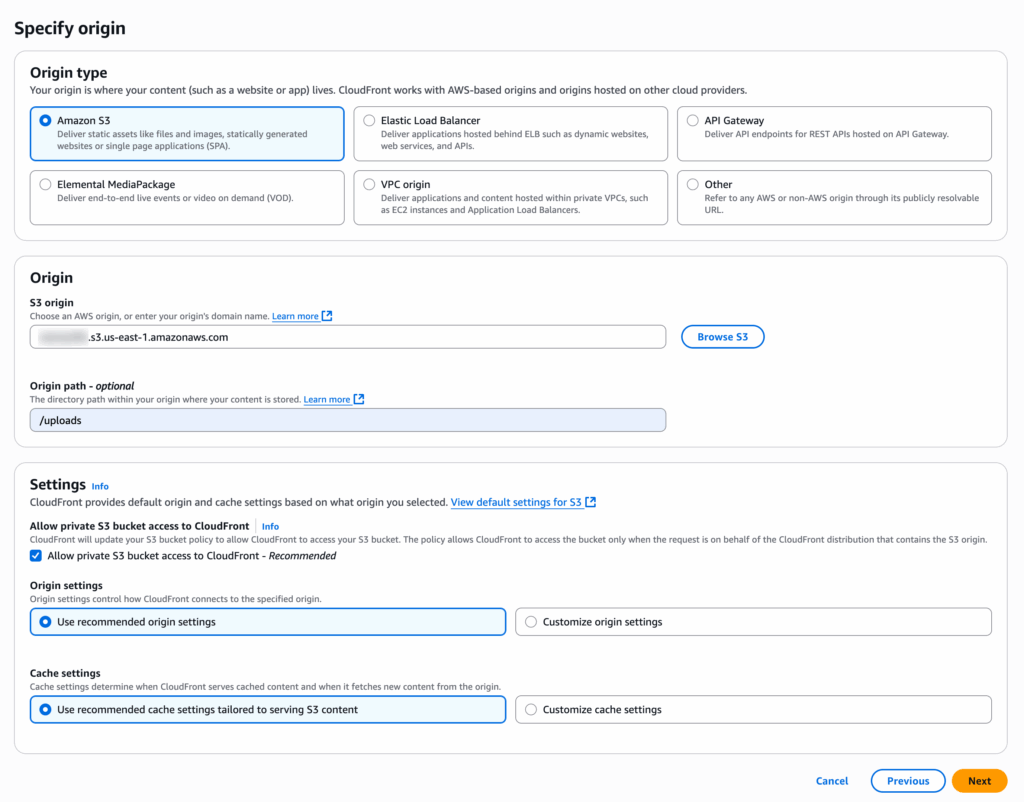
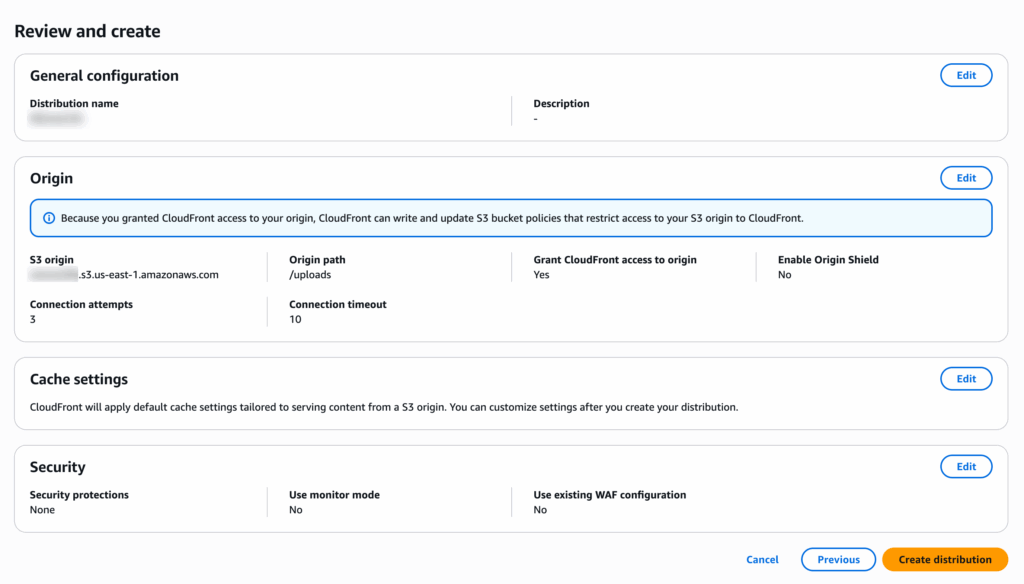
The Origin domain = Your S3 Bucket
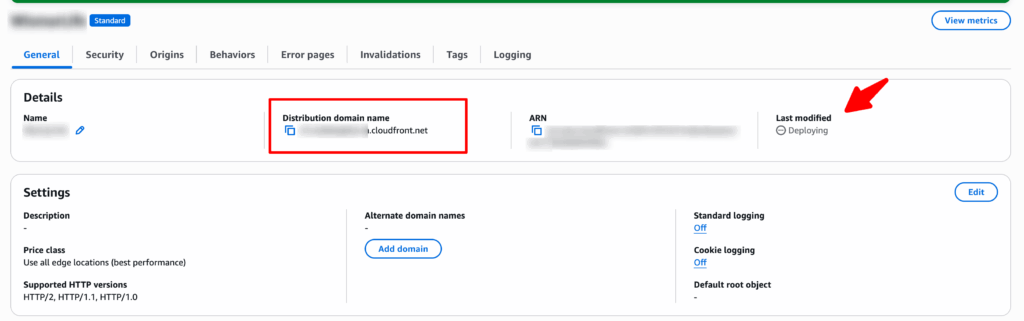
Wait till deploying finished and then copy the new distribution domain name
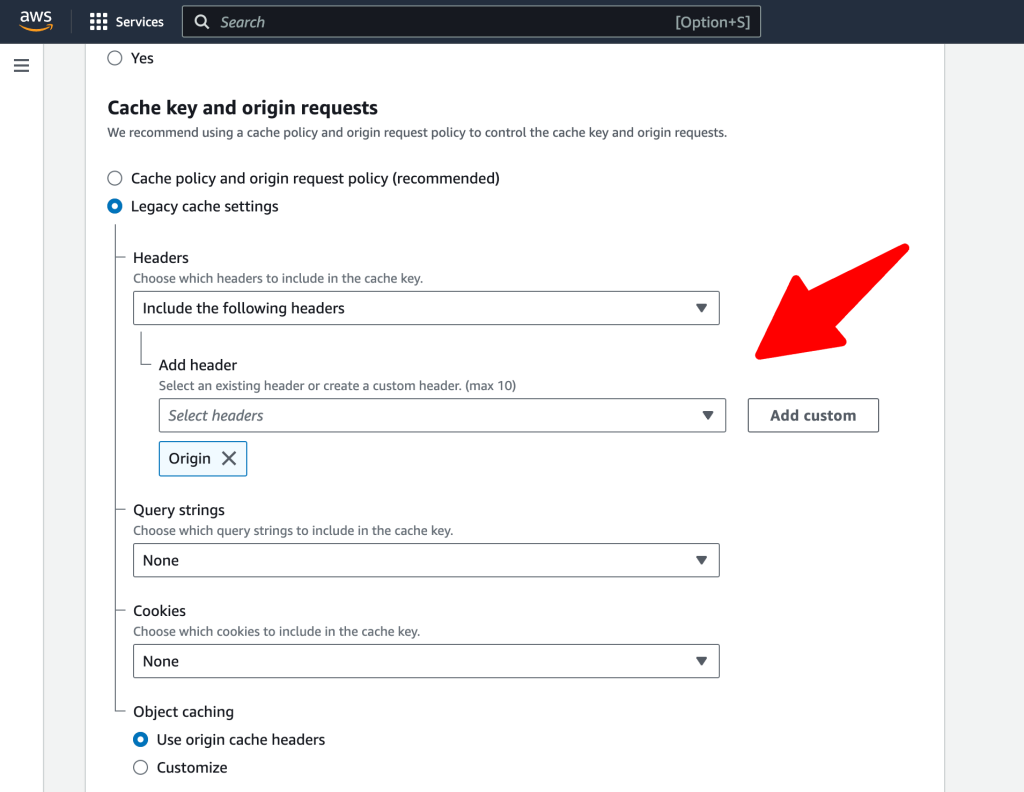
Note: Incase you have CORS policy issue you will need to edit the Update CloudFront Distribution Behavior
Open the CloudFront Console:
- Go to the AWS Management Console and open the CloudFront console.
Select Distribution:
- Choose the CloudFront distribution you are using.
Edit Behaviors:
- Go to the “Behaviors” tab and edit the behavior that corresponds to the path you are serving.
Forward Headers:
- In the behavior settings, under the “Cache Key and Origin Requests” section, select “Origin Request Policy” and then “Create Origin Request Policy” if you don’t have one already.
- In the “Headers” section of the origin request policy, make sure to include the
Originheader.
Save Changes.
That’s it.
Happy Sngine 🙂
Buy Sngine or Extend your support: https://bit.ly/BuySngine