
Sngine supports real-time chat through Socket.io.
You can run the chat server in two modes:
- Proxied (Recommended) → works on standard HTTPS port (443), no SSL cert needed inside Sngine.
- Not Proxied → works directly on a custom port (e.g., 3000), requires SSL cert & key paths.
NOTE: Make sure you are running PHP 8.2 or 8.3 (8.4 not supported yet)
📌 Step 1 — Enable Socket.io
- Go to Admin Panel → Settings → Chat → Socket.io.
- Turn Chat Socket Enabled → ✅ ON.
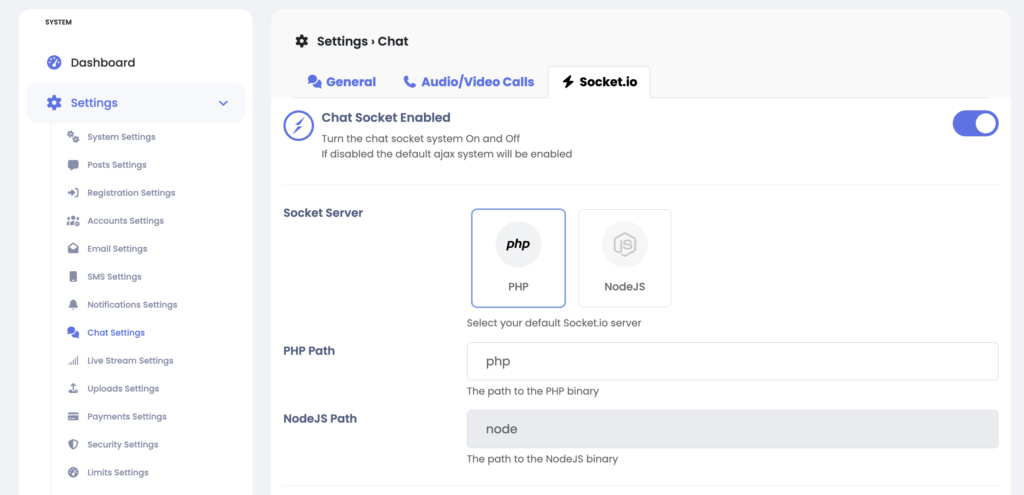
📌 Step 2 — Select Socket Server
- Choose PHP (default, works with PHPSocketIO bundled with Sngine, Node.js is coming soon and requires a Node server, not covered here).
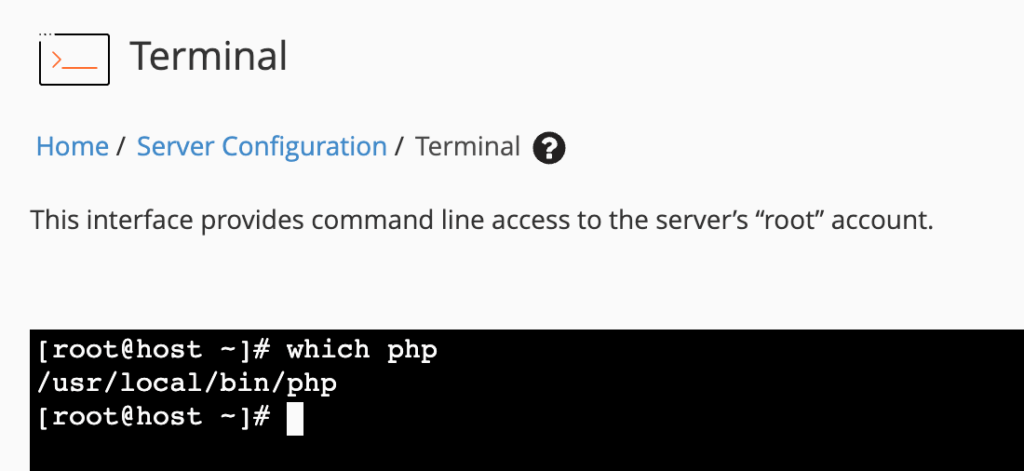
- For PHP Path you can get from your server admin or run this command in your server terminal.
which phpLike this
📌 Step 3 — Choose Proxy Mode
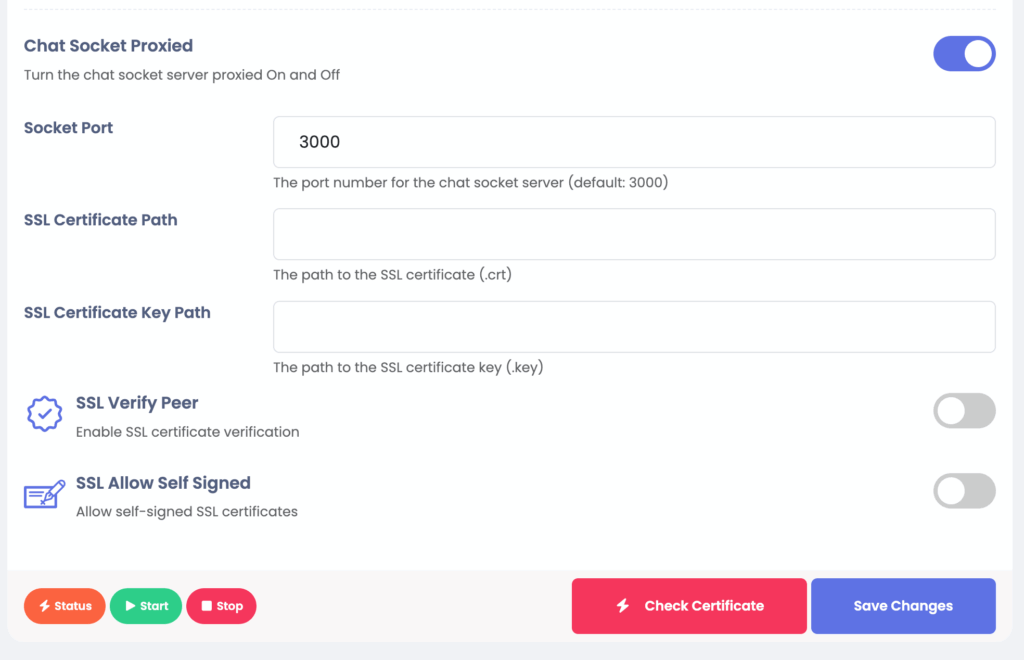
🔹 Option A: Proxied (Recommended)
In this mode, Apache or Nginx proxies WebSocket traffic to your chat server.
- Toggle Chat Socket Proxied → ON.
- Set Socket Port to
3000(or whatever you run PHPSocketIO on). - Leave SSL Certificate Path and Key Path empty (not needed).
👉 Server Setup Needed
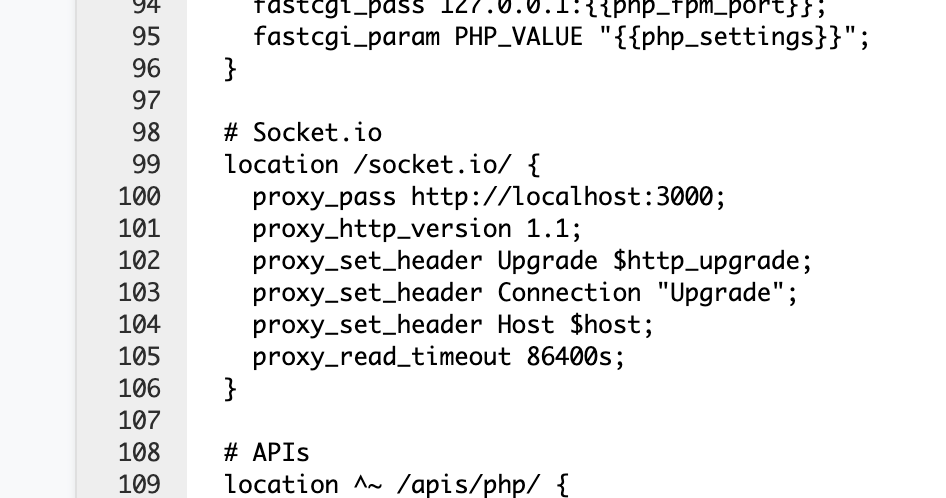
If using Nginx, add to your vhost or nginx.cong file
# Socket.io
location /socket.io/ {
  proxy_pass https://localhost:3000;
  proxy_http_version 1.1;
  proxy_set_header Upgrade $http_upgrade;
  proxy_set_header Connection "Upgrade";
  proxy_set_header Host $host;
  proxy_read_timeout 86400s;
}
Like this
If using Apache, add inside your <VirtualHost *:443>:
ProxyPass /socket.io http://localhost:3000/socket.io retry=0 timeout=30
ProxyPassReverse /socket.io http://localhost:3000/socket.io
RewriteEngine On
RewriteCond %{HTTP:Upgrade} websocket [NC]
RewriteCond %{HTTP:Connection} upgrade [NC]
RewriteRule ^/socket.io/?(.*) ws://localhost:3000/socket.io/$1 [P,L]
WHM for example
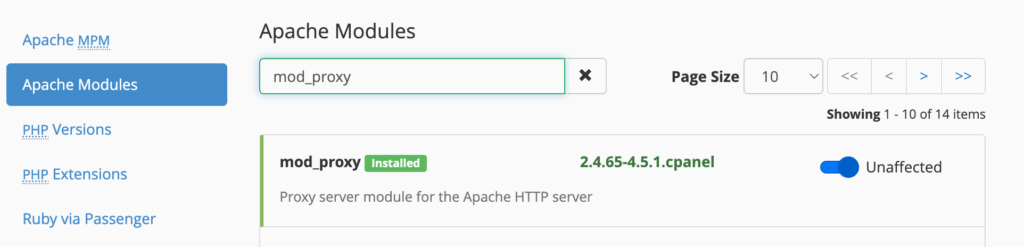
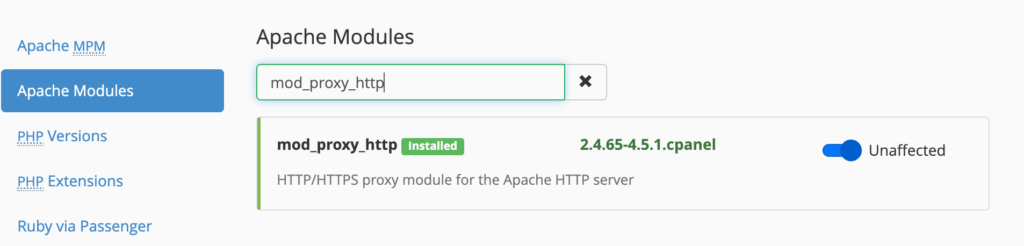
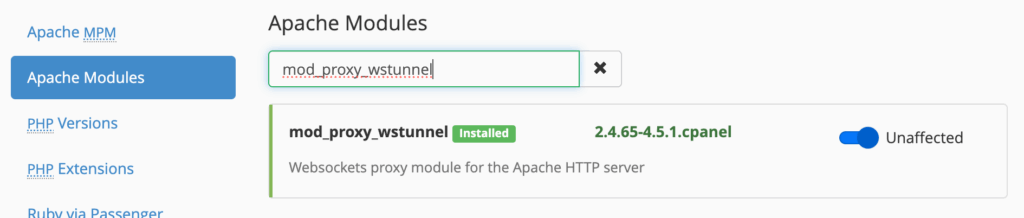
Step 1. Enable Apache proxy modules
On WHM → EasyApache 4, make sure these are enabled:
mod_proxy
mod_proxy_http
mod_proxy_wstunnel
Then Edit Apache VirtualHost for your website as showed above.
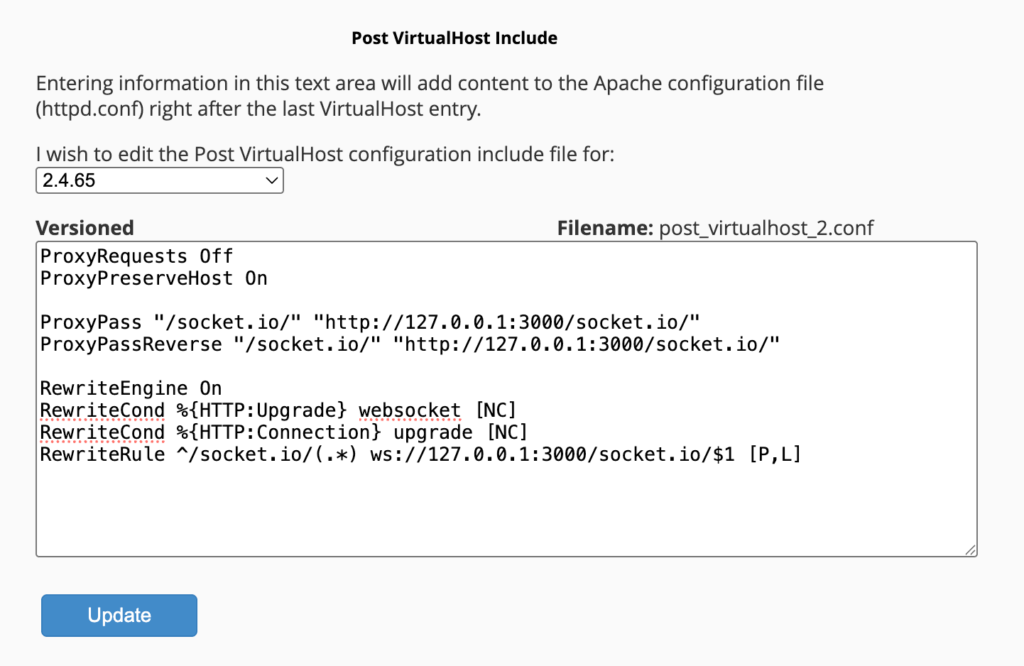
Or Go to the following path:
Home / Service Configuration / Apache Configuration / Include Editor
ProxyRequests Off
ProxyPreserveHost On

ProxyPass "/socket.io/" "http://127.0.0.1:3000/socket.io/"
ProxyPassReverse "/socket.io/" "http://127.0.0.1:3000/socket.io/"

RewriteEngine On
RewriteCond %{HTTP:Upgrade} websocket [NC]
RewriteCond %{HTTP:Connection} upgrade [NC]
RewriteRule ^/socket.io/(.*) ws://127.0.0.1:3000/socket.io/$1 [P,L]
Like this and restart your apache server:
✅ In this mode, your site SSL (from cPanel/Let’s Encrypt) secures the connection.
❌ No certificate configuration needed in Sngine.
This mode is highly recommended, particularly if you are using Cloudflare, which only permits default ports 80 and 443 (SSL).
🔹 Option B: Not Proxied (Direct SSL on Socket Server)
In this mode, the chat server itself handles SSL.
- Toggle Chat Socket Proxied → OFF.
- Enter Socket Port →
3000(or another free port). - Fill in:
- SSL Certificate Path → e.g.
/home/username/ssl/domain.com.crt - SSL Certificate Key Path → e.g.
/home/username/ssl/domain.com.key
- SSL Certificate Path → e.g.
- (Optional) Add CA bundle path if required.
👉 You must download/export SSL certificate & private key from cPanel (under SSL/TLS → Certificates & Private Keys) and upload them into your hosting account (if not already available).
⚠️ Important: Many shared hosting providers block external ports like 3000. If your browser can’t connect, you must switch to proxied mode.
📌 Step 4 — Save and Test
- Click Save Changes.
- Then Click on Start button to check there is no previous
- Use Check Certificate (only available if not proxied).

📌 Summary
- If you’re on VPS or dedicated server → you can use either proxied or not-proxied.
- If you’re on shared hosting (cPanel) →you can only use proxied (since non-standard ports are blocked).
That’s it.
Happy Sngine 🙂
Buy Sngine or Extend your support: https://bit.ly/BuySngine